This post was originally published on November 16, 2016
The latest update to this post was made 9 years ago ago.
 FLIR One – Unboxing Testing And Review

You are on page 2/3.
After the app is installed and the camera is attached to your phone, you are presented with the options menus:
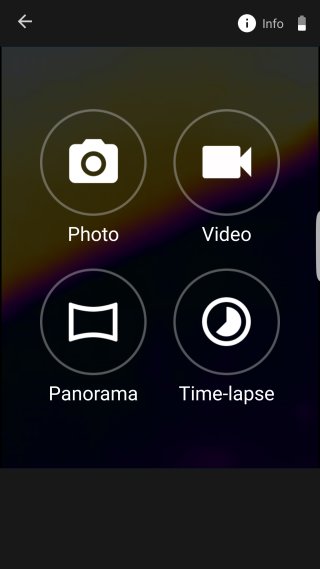 The Android App shooting menu offering choice of photo, video, panorama and time-lapse. |
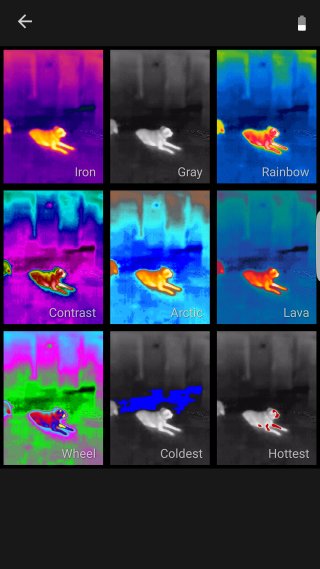 The mode window – offering Iron, Gray, Rainbow, Contrast, Arctic, Lava, Wheel, Coldest and Hottest. |
Now for the fun part, you get to wander around like a goofy nerd and stare and comment on the heat signatures of, well, everything and everyone around you! It’s actually pretty fun… Here are some samples from our walk around:
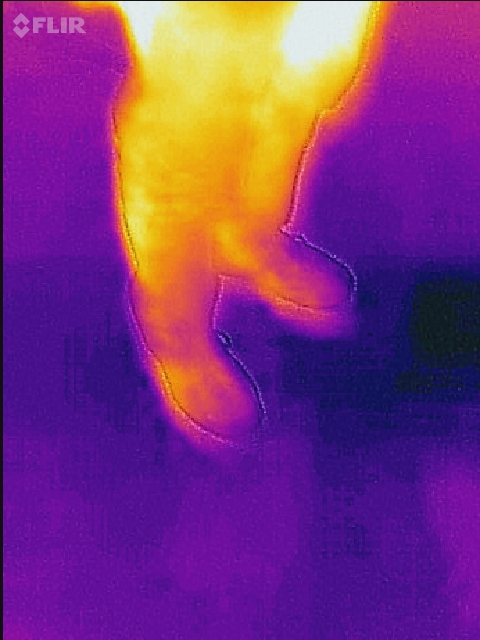 A photo of my legs. This image taken in standard mode (Iron) on a Samsung Galaxy S7 Edge. |
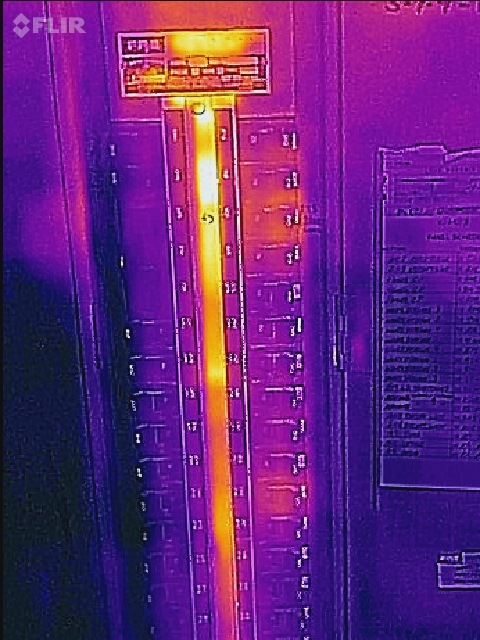 A breaker panel. Note the 3rd one on the top/right is one that always trips. We can see the thermal load on it here. |
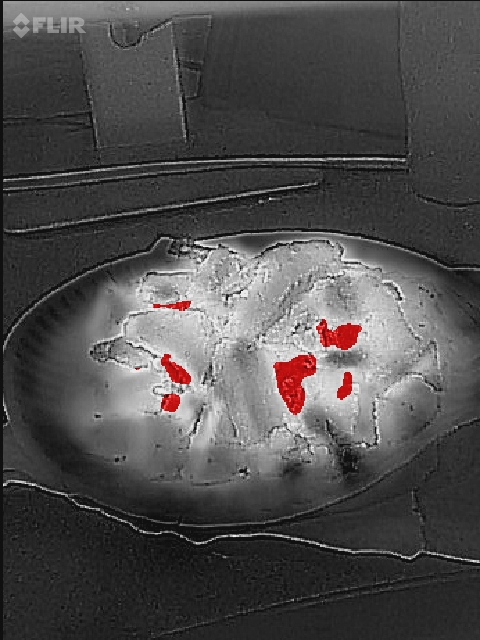 Lunch, taken with black and white mode (Hottest) with hotter areas in red. |
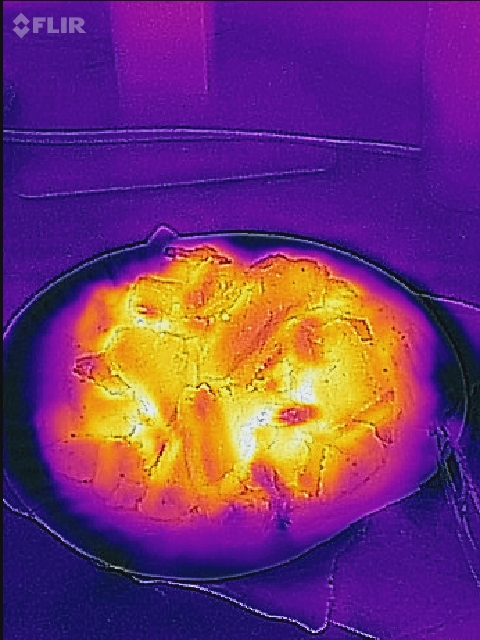 Lunch, taken with standard options set (Iron). Brighter means hotter. |
You are on page 2/3.
![]()
Did you enjoy this article?
YesNo
Be the first to comment