
This post was originally published on November 3, 2016
The latest update to this post was made 3 years ago ago.
 DIY Aquarium Dosing Container
Need an easy, nice-looking dosing container for your aquarium?
Pre-made or custom containers can be expensive. Here is a good solution at at least half the price.
Here is what you will need:
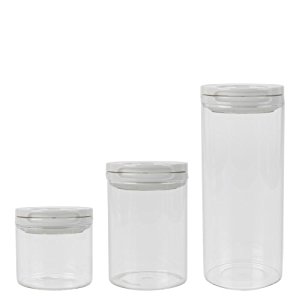
- Glass or plastic container that has a lid that can be drilled. (I will be using the OXO Glass 2.5 Qt. Fliplock container.)
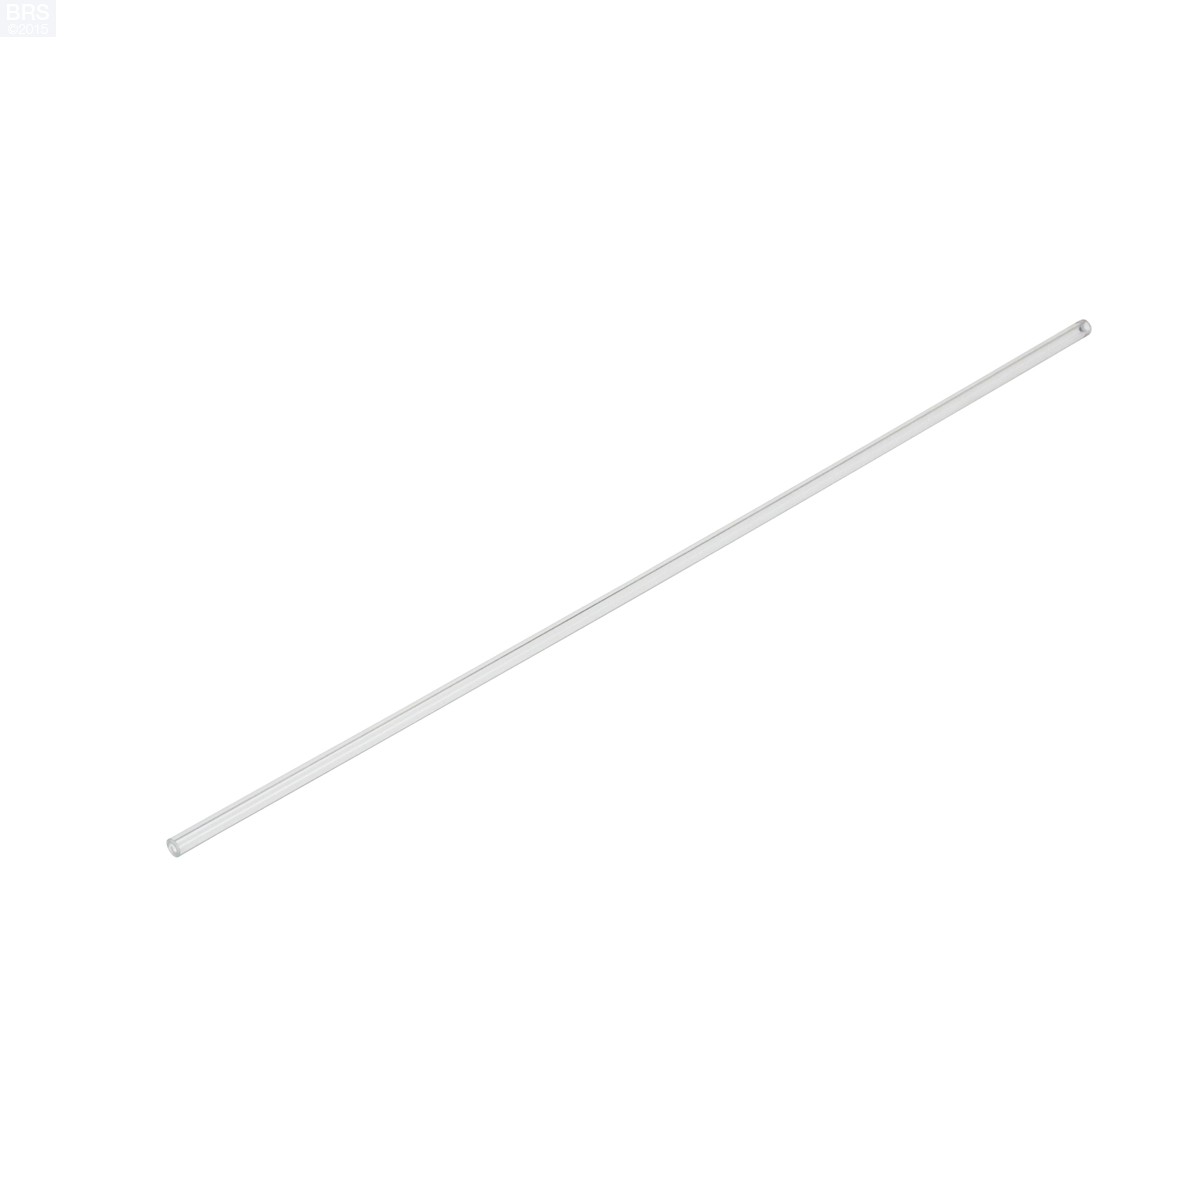
- 1/4″ Clear acrylic tubing (length will depend on the height of your container selection)
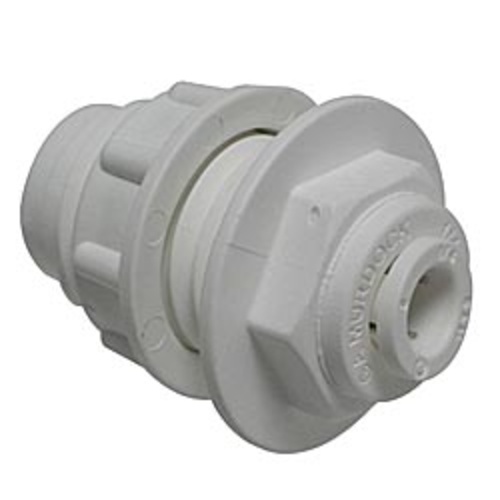
- 1/4″ Push connect bulkhead tank adapter.
- Drill with a ¾” drill bit or a stepdown bit preferred.
 |
 |
 |
 |
First you will drill a ¾” hole in the top of your lid.
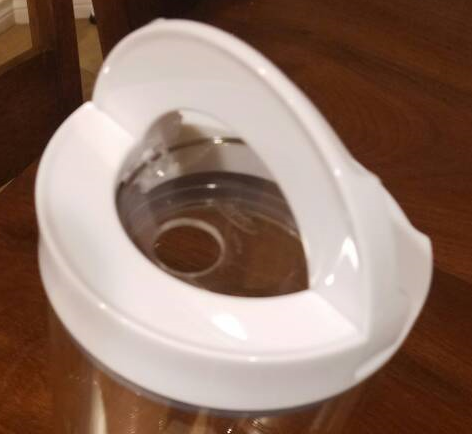
Next insert the bulkhead from the top and screw the nut on tight.
Then push your acrylic tube into the bottom side of the bulkhead.
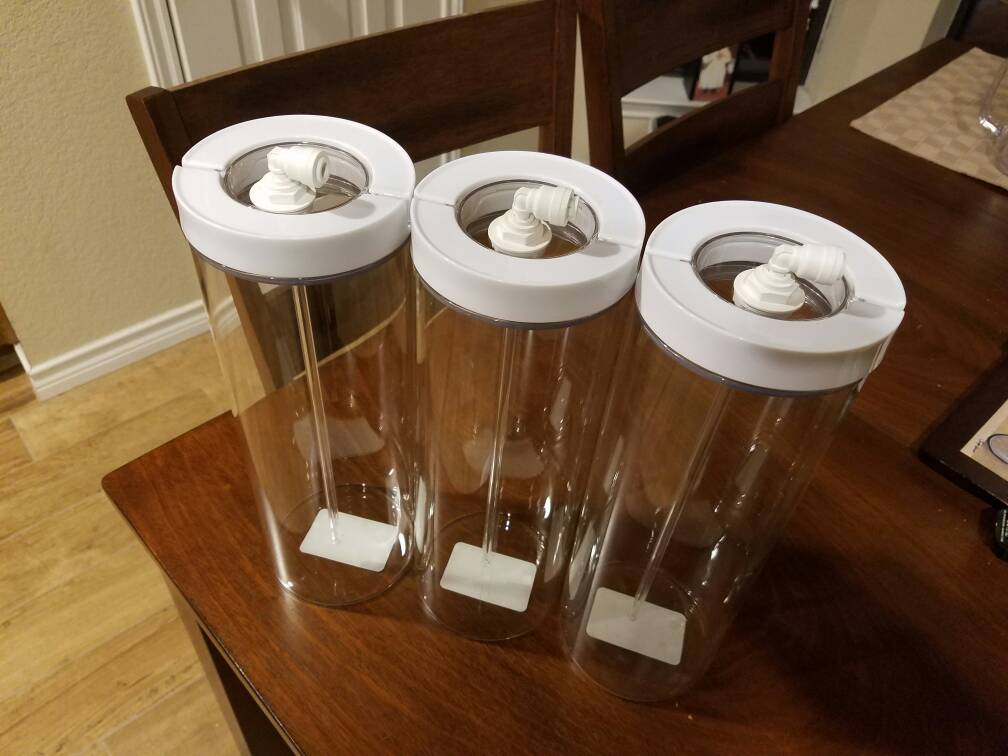
Put the lid back on the container and you’re done!
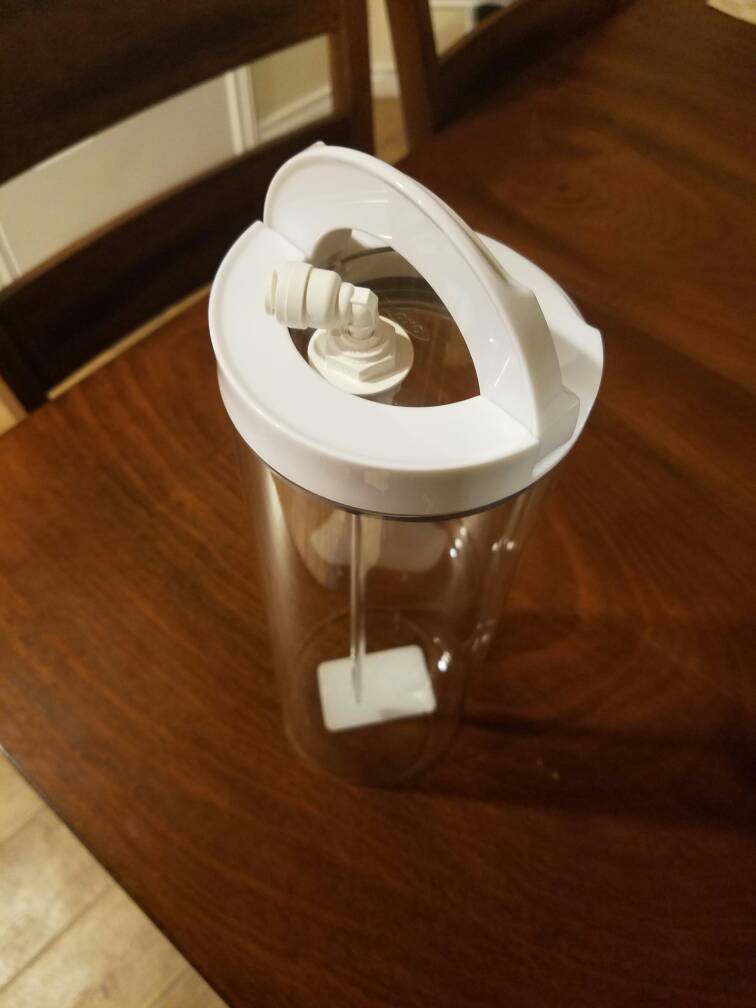
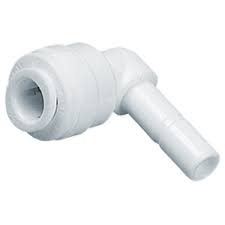
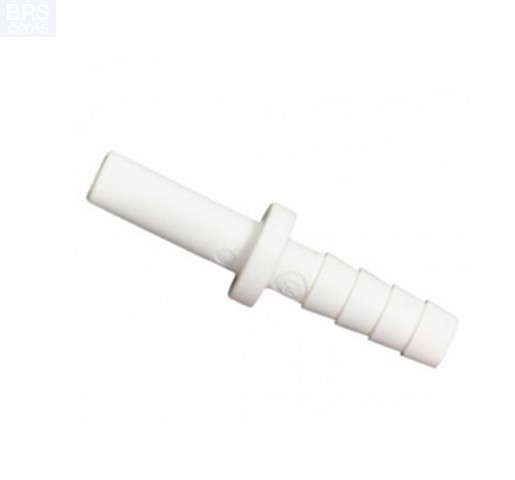
Optionally you can also put in a ¼” push connect stem elbow as I did or just have your tubing go straight into the top. If using an elbow, you can get a barbed stem to push in them as well to connect rubber tubing.
 |
 |
Tags: #aquarium #saltwalter #fishtank #fish #dosing #DIY #lowcost #coral
![]()
Be the first to comment