This post was originally published on January 13, 2019
The latest update to this post was made 7 years ago.
 Microsoft Windows Defender Dialog Popups
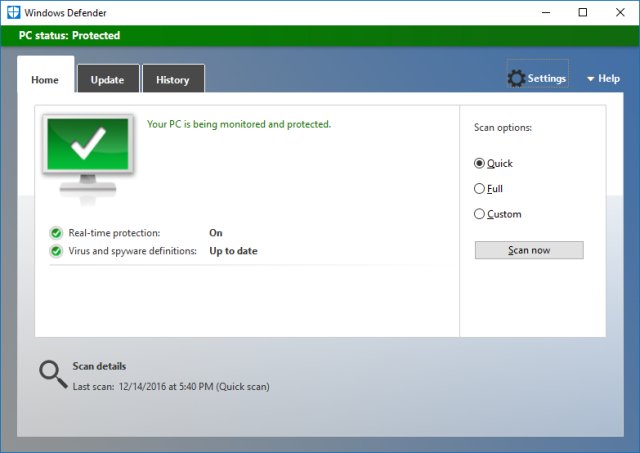
Windows 7, Windows 8, Windows 8.1 and Windows 10 can all use Windows Defender, the free virus protection from Microsoft. Normally pop-ups from the program would easily handled, for example in a small office or even at home… Sometimes the program will ask if you want to ‘send files to Microsoft’ for further analysis. This may occur if the malware/virus detection systems see something potentially out of place in a file you recently accessed or downloaded, but the detection from the installed virus definitions isn’t an exact match to a known virus variant.
In a corporate environment, this can be a huge headache – as users will start calling the helpdesk not knowing either how to properly handle the on-screen message or simply out of an abundance of caution. The exact message displayed is “Items detected on your PC require further analysis. By sending the files listed below, you can help Microsoft analysts determine if these threats are malicious.“. The user will then be presented with the option to send or not send the file(s).
In our environment, we deploy and monitor Windows Defender via SCCM2012R2, and although the options are set under the anti-malware policies, we found that a good majority of workstations we’re ignoring some of the policy settings. One of those policy settings was the ‘automatically submit samples‘ area. Although enabled in the policy, the workstations were not turning the option on. The fix, as we found was a registry key that needs to be adjusted.
Open the registry editor, navigate to the following location:
HKEY_LOCAL_MACHINE\Software\Policies\Microsoft\Windows Defender\SpyNet MAPS ConfigurationRegistry location:
DWORD name: SpyNetReporting
DWORD values (decimal):
0 – Off
1 – Basic Membership
2 – Advanced Membership
- Sample SubmissionRegistry location:
DWORD name: SubmitSamplesConsent
DWORD values (decimal):
0 (default) – Automatic sample submission disabled. End-users will always be prompted for samples.
1 – Most samples will be sent automatically. Files that are likely to contain personal information will still prompt and require additional confirmation.
2 – All sample submission disabled. Samples will never be sent and end-users will never be prompted.
3 – All samples will be sent automatically. All files determined to require further analysis will be sent automatically without prompting.
For our environment, we chose:
- SpyNetReporting Decimal Value 2
- SubmitSamplesConsent Decimal Value 3
You should can adjust to your needs/company policies.
Tags: #microsoft #windowsdefender #spynet #sccm #techsupport
![]()

Be the first to comment