This post was originally published on November 16, 2016
The latest update to this post was made 8 years ago.
 FLIR One – Unboxing Testing And Review
You are on page 3/3.
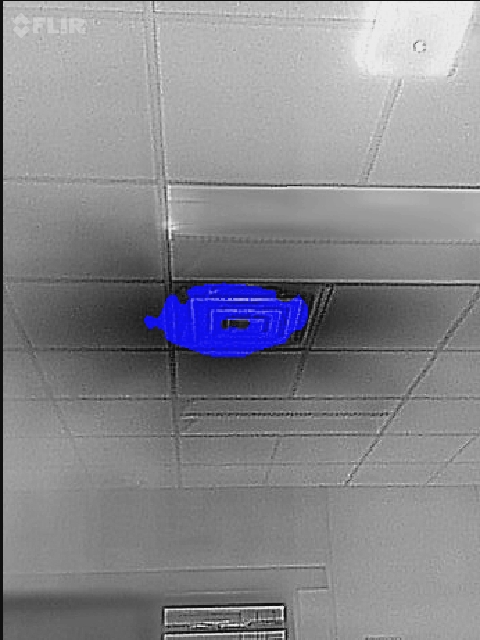
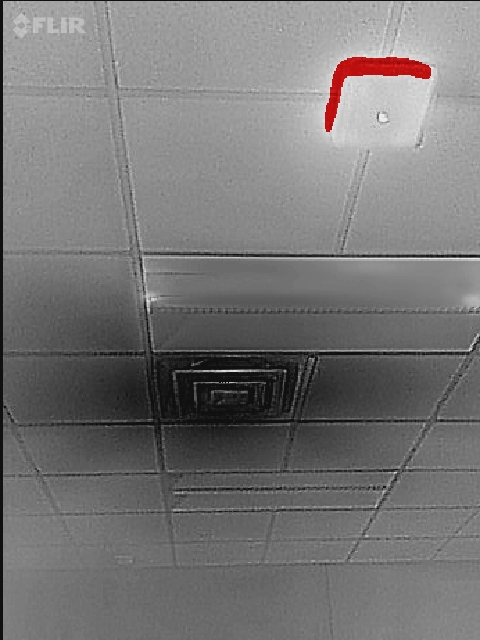
As we continue our experimenting with the FLIR One, we change modes to Coldest and Hottest. When in grayscale, it becomes very clear where the cold and hotspots are!
 An A/C duct at the office. Blue showing cold in this mode (Coldest), where as white shows hottest. |
 A Cisco wireless access point. Red showing warmest in this mode (Hottest). Black being coldest. |
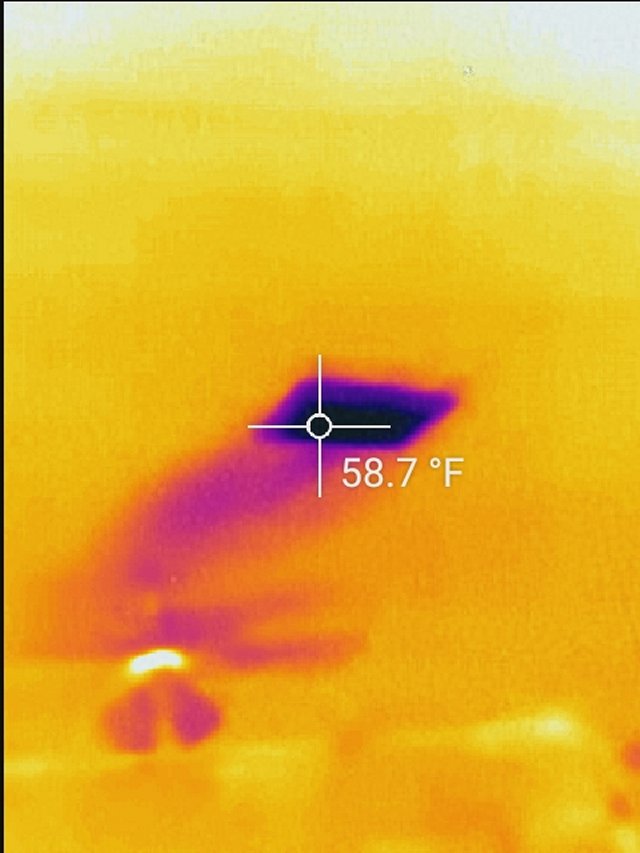
 A duct shown at the house, with air conditioning running. Note the ceiling fan motor is hottest. |
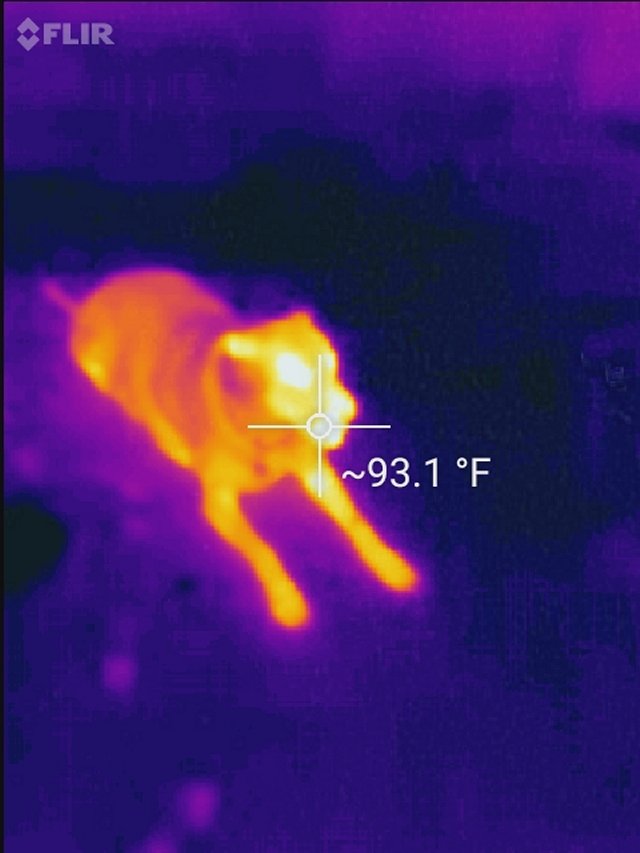
 My dog laying on the floor. This was shot in complete darkness (0 lux) with temperature enabled. |
Video: A brief, sample video walking through a datacenter.
If you are trying to figure out where you may be having a heat related issue on anything from electronics to your house HVAC, this is a great investment. I’ve only tipped the iceberg on the possible ways this can be used, but I’m excited to test out night vision hunting next. On a 1-10 rating scale, We give it a solid 8. The reason for the grade is mainly because the video seems a bit choppy, but it does still get the job done! For a more extensive explanation of FLIR on Wikipedia [visit here]. To visit the official FLIR One website [visit here].
You are on page 3/3.
Tags: #FLIR #flirone #thermalimage #nightvision #nightoptics #thermal #imaging
![]()


Be the first to comment