
This post was originally published on November 15, 2016
The latest update to this post was made 1 year ago.
 DIY Saltwater Mixing Station

Part of owning a saltwater aquarium is that you need saltwater. Fortunately, there are a few options to acquiring the saltwater for your aquarium. You can go to your local fish store (LFS), bring in your 5 gallon jugs and purchase saltwater buy the gallon and then haul them home. You can also, if you’re close enough, go to the ocean and haul saltwater home or you can mix saltwater yourself. Now if you have about a 50 gallon aquarium or less, going to your local fish store on a weekly or bi-weekly basis to get saltwater for your water changes isn’t too big a deal because you will only be lugging around a couple 5 gallon jugs. However, if you have a larger aquarium it will save a lot of time, money and possibly your back if you mix saltwater yourself. Here are some ideas for building a DIY Saltwater Mixing Station.
To mix your own saltwater there are a few components you will need:
- You need to have a source of filtered water at zero Total Dissolved Solids (0 TDS)
- Some containers to hold water
- A way to mix the water.
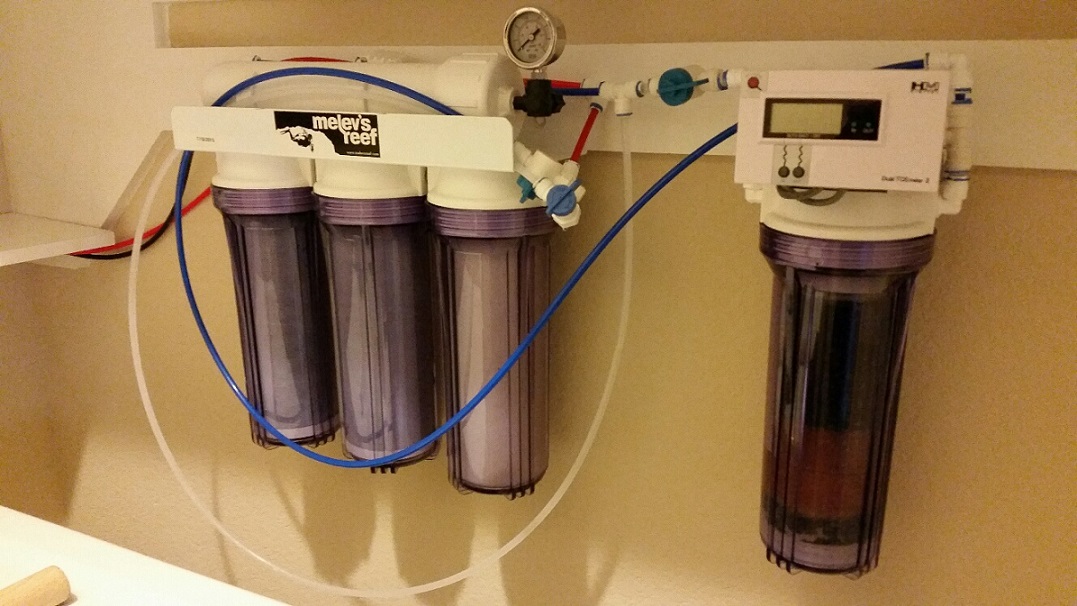
Filtered Water Source
For your filtered water source you will need to install a Reverse Osmosis De-ionizing filtration system (RO/DI system). This will take all the Total Dissolved Solids (TDS) out of the water and make it safe for your aquarium livestock. After installed, you need to connect to a source of tap water and a way to drain, either from under a sink, split off your washing machine or even special plumbing in your home that is dedicated, if you’re planning ahead. My system also has an auto shut off valve installed to keep the system from over filling my holding container. It also has a TDS meter installed to display the incoming and outgoing TDS readings of the water to make sure all the filters are in check and everything is running correctly.
Holding Containers
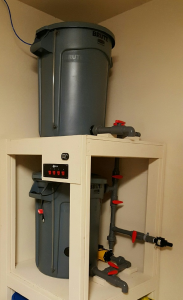
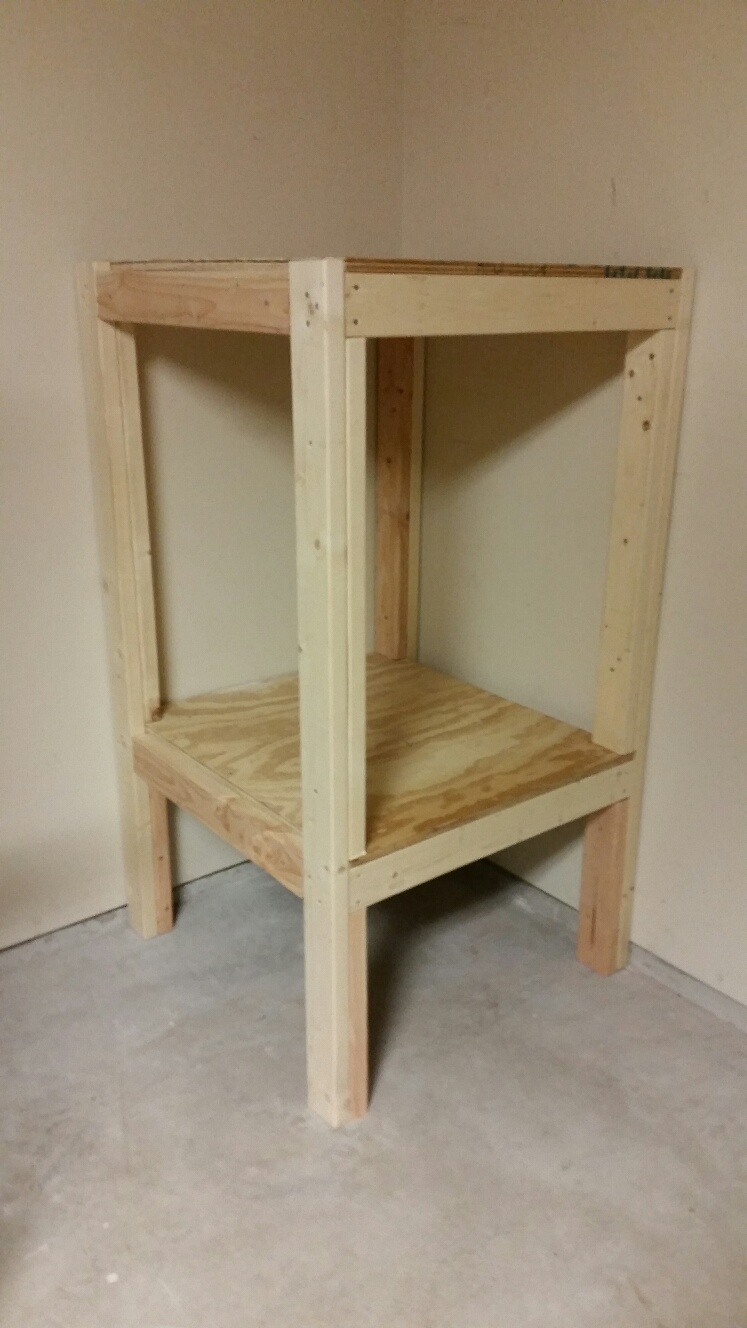
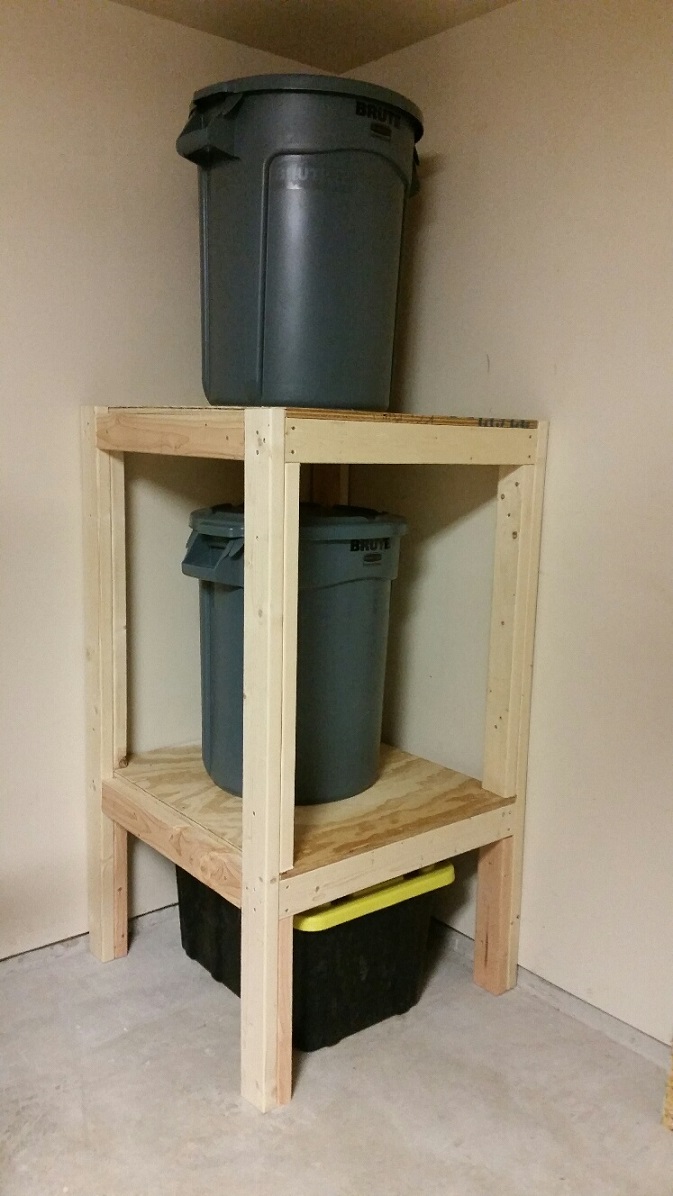
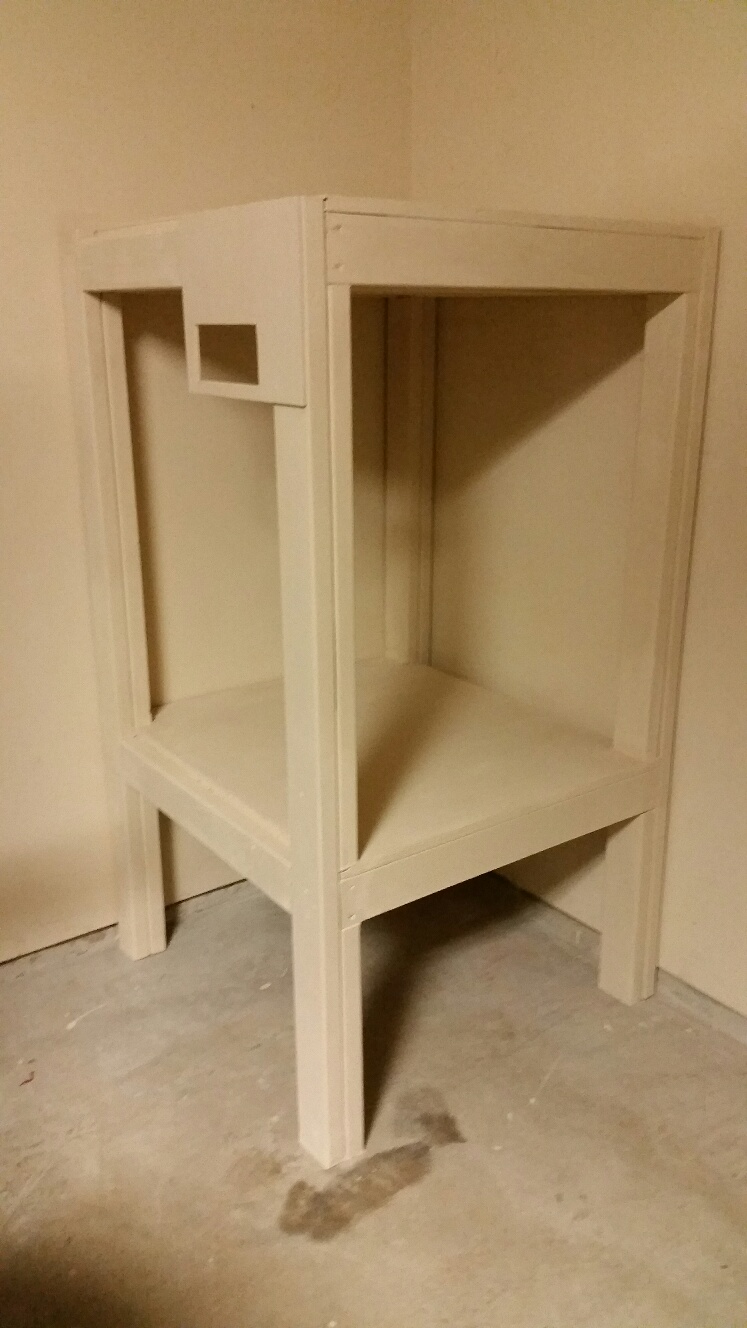
For your water holding containers their are many options. You can can use any food grade/water holding tank in any shape, size and capacity for your needs. Keeping in mind how much saltwater you would normally need for a water change and maybe even a little extra, this will help you determine your capacity. Keep in mind you will need one container to hold fresh RO/DI water and another to hold saltwater. My normal water changes are about 20 gallons each time. So I decided to use (2) 32 gallon BRUTE trashcans and will mix up about 25-30 gallons at a time. I also decided to use the BRUTE trashcan for its shape and size and built a wood stand that would let me easily stack them one over the other and have room for storage underneath. It is a good idea to test fit your containers in your stand to make sure you can open the tops and have enough room for plumbing. You can have your containers side-by-side or any configuration depending on your space. Other ideas are adding a holder for a power switch box and even paint it, which will help protect the wood. You can do anything to make it look as nice as you want.
 |
 |
 |
Plumbing and Operation
So now that you have a source of RO/DI water and holding containers for water it is time to plumb your RO/DI system and containers together. When thinking about your plumbing you will need to decide how you want your mixing station to operate. I have mine setup as a gravity fed system. Another need was to be able to drain water from either container into a bucket/jug, mix it with a pump and be able to pump the water to a remote area if needed. I also wanted to be able to remove both my containers easily to clean periodically.
The process I followed is:
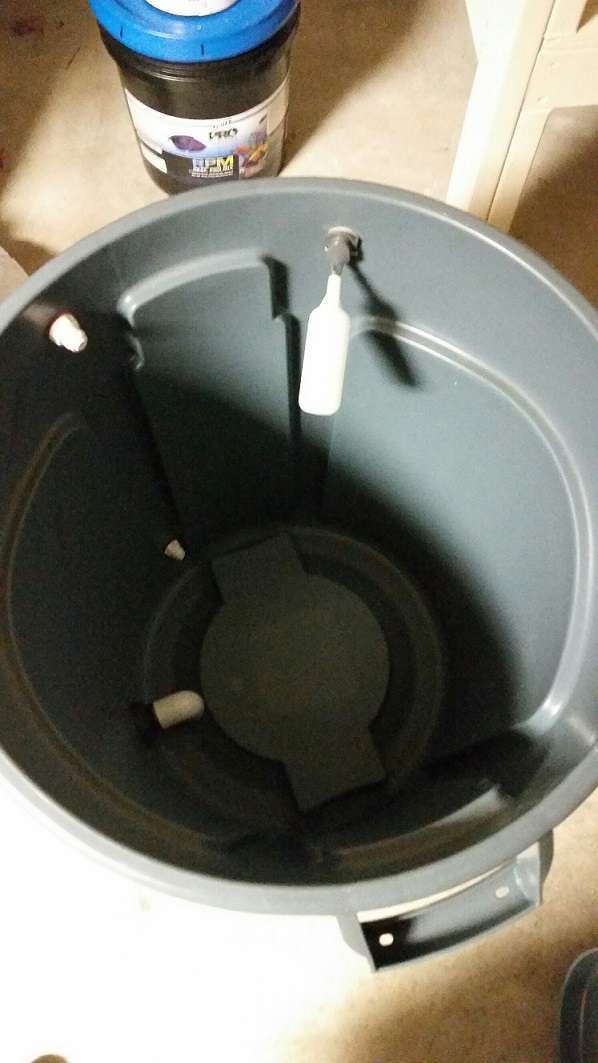
- I ran RO/DI tubing from my RO/DI system to my top container and connected it to a to a float valve installed in the top of the container so the the system would turn off automatically and not overflow.
- I ran 1″ PVC pipe between the 2 containers and pump.
- To do this I installed 1″ bulkheads into the bottom of each container with an elbow coupling pointed downward on the inside.
- I also installed a bulkhead in the top of the bottom container for RO/DI water to enter and for mixing.
- For ease of removing the containers I installed PVC unions on the outside of each bulkhead.
- I placed my mixing pump (Pan World 100PX) where I wanted it and installed PVC unions on it as well in case I ever needed to replace it easily.
- Then I decided where I needed to install ball valves to direct water flow.
- In the top plumbing, I have a valve to let RO/DI water out a spigot for a jug/bucket and another to let water flow down to the lower container.
- In the lower plumbing, again I have a ball valve to let saltwater out a spigot for a jug/bucket and then another to my pump.
- From there the water is diverted through 3 other ball valves and can either be direct back into the lower container for mixing or out another spigot with a banjo quick connect fitting. This is used to connect a hose long enough to reach the aquarium to do water changes.
- Keep in mind the length of the hose as you also may want to use the same hose to drain water out of the aquarium so make sure it is long enough to also reach as far as your drain location whether it be to a tub, internal drain or outside.
- After you have all the plumbing complete, your mixing station is ready to test.
- You will want to fill all the containers up and make sure all containers, bulkheads and valves seal properly and there are no leaks.
- I used tap water from a hose to fill from the top instead of RO/DI water as it takes a while to produce this water.
- Let it sit overnight just to be sure.
- If you find any leaks you may need to add more glue, silicone to the inside, or tighten a connection.
- Once tested your ready to mix some saltwater!
- You can make it look as nice as you want! I decided to paint all my plumbing the same color as my containers.
 |
 |
 |
Other Options You Can Add To Customize:
Temperature:
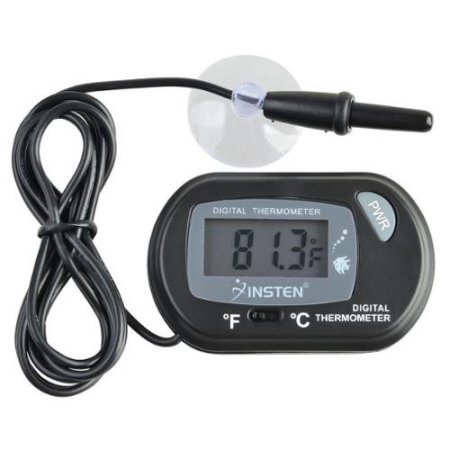
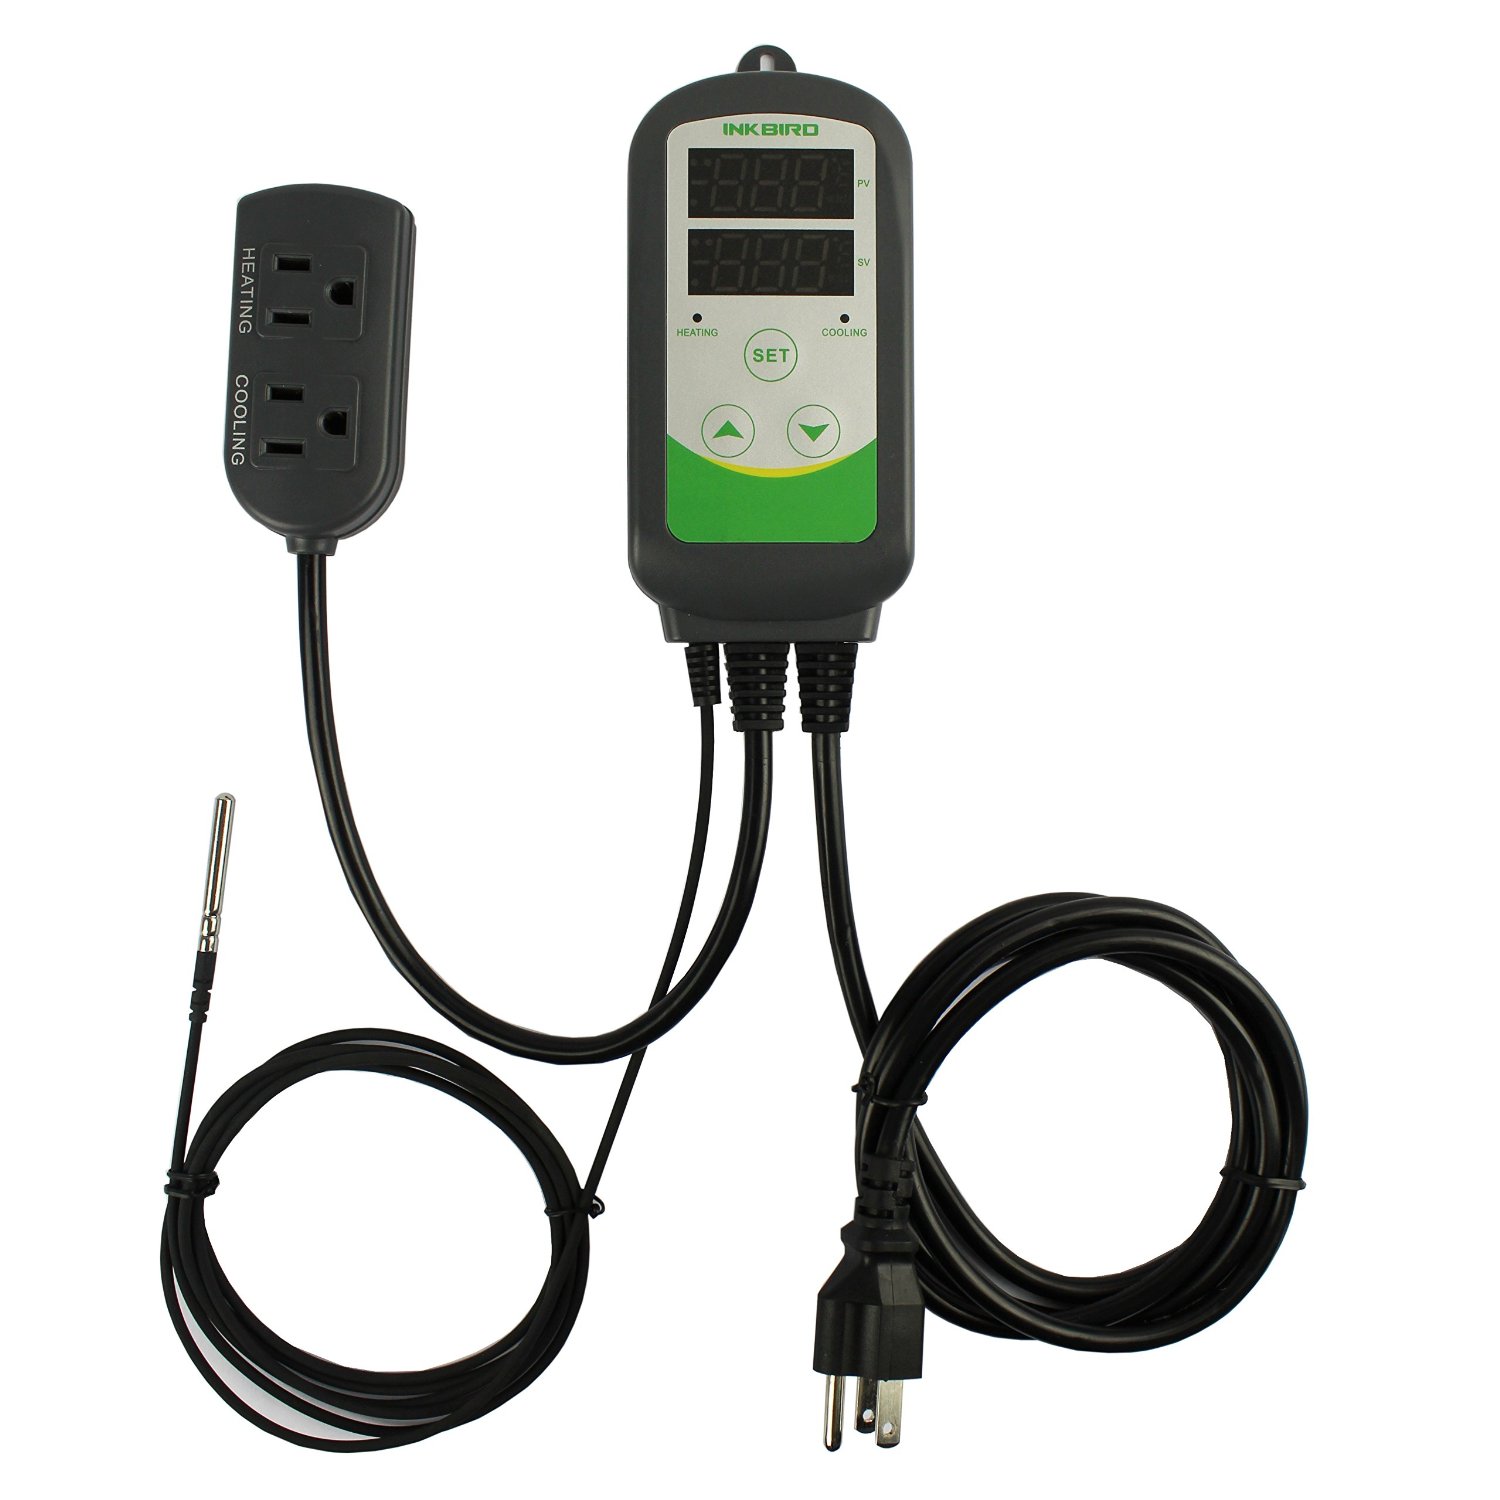
Some other accessories you may want to think about adding to your DIY Saltwater Mixing Station can be very important if adding the saltwater directly from your station to your aquarium. Water temperature is very important with aquarium livestock. If the temperature swings too much in one way or the other you can shock your livestock and they can die. To keep an eye on this parameter you will want to make sure and have a thermometer in your bottom container. Depending on where you live and the season of the the weather it may be too hot or to cold to add or pump water straight to your aquarium. You may need to add a heater or drop-in chiller to the bottom container to adjust the water to the correct temperature. If you don’t want to sit there and watch the temperature you can add a digital temperature controller thermostat. I use one made by Inkbird that is normally used for home beer brewing. This will let you plug a heater and or a chiller into the controller and set the temperature values you want and the heater and or chiller will turn on when needed automatically and keep your water at the correct temperature.
Circulation:
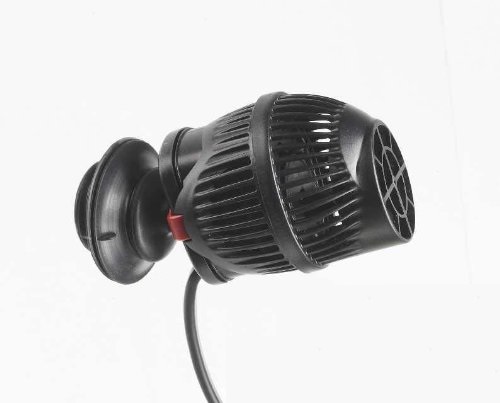
If you will not be using the saltwater immediately and want to store if for future use for a few days or week, you will want to keep the water circulating. This will keep the water fresh and keep it from getting stagnate. You can do this by simply adding a power-head in the bottom of the container to keep the water moving.
Power:
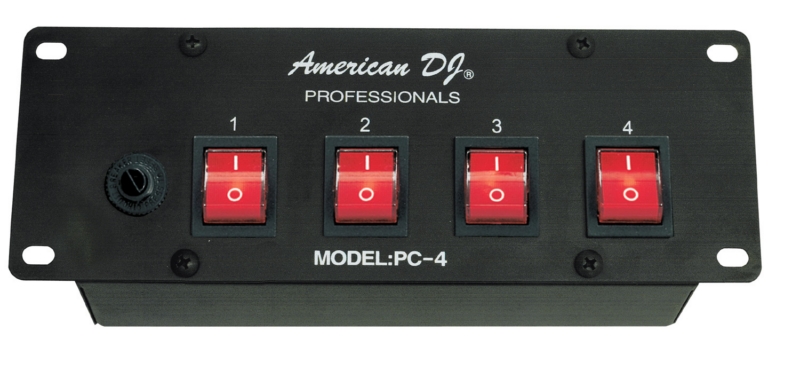
If you add pump, heater, chiller or power-head you will be needing a few plugs. You can simply add a power strip in a safe place away from splashes nearby. I use one of these American DJ PC-4 Power 4 Plug Circuit Breakers so I can individually control and turn on and off whichever piece of equipment needed.
Water Level:
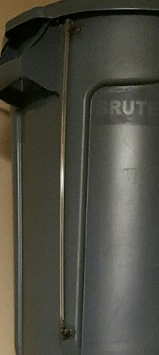
Another thing to consider, depending on your container, is knowing how full you containers are. You can just go pop the tops an look in but it is nice to have a water level viewer to see with ease. One way to accomplish this is with some 1/4″ hard clear acrylic tubing, 1/4″ push connect bulkhead and 1/4″ push connect elbow. Just install a bulkhead in the top and bottom of each container, then add an elbow to each bulkhead with the hard tubing in between the elbows. This will give you a nice little window to see your water level. You can even go as far as marking the number of gallons on the tube so you know exactly how many gallons you have. I put a mark every 5 gallons on mine just to give an estimate. Again you will also want to do an overnight water test to make sure there are no leaks when adding additional plumbing.
Tags: #aquarium #saltwalter #fishtank #DIY #lowcost #plumbing #temperature #circulation #thermometer #salt #RODI #LFS #valve #pump
![]()
Be the first to comment